

Love the way wooden monograms look, but hate the price tag?? Not to worry, so did I! So I took it upon myself to figure out a way around buying a $40+ wooden monogram. And guess what, I did it! Above is a picture of my finished product. It's hard to believe that I was able to make that for under $20, right? Well, I am going to tell you all my tricks so that you can make one for yourself or as a gift for a friend or family member.
I got all of my materials from Hobby Lobby, but I am sure you could get them at any craft store.
What you will need:
- one 18" Wooden Unpainted Letter (my "K") - $12.99
- two 9 1/2" Wooden Unpainted Letters (my "C" and "E") - 2 @ $3.49 = $6.98
- 6" natural burlap roll - $4.99
- paint color of your choice (I used paint that I had from refurbishing a dresser earlier this summer, but you can also buy paint/spray paint at Hobby Lobby. Small cans of spray paint are around $3.50 at HL)
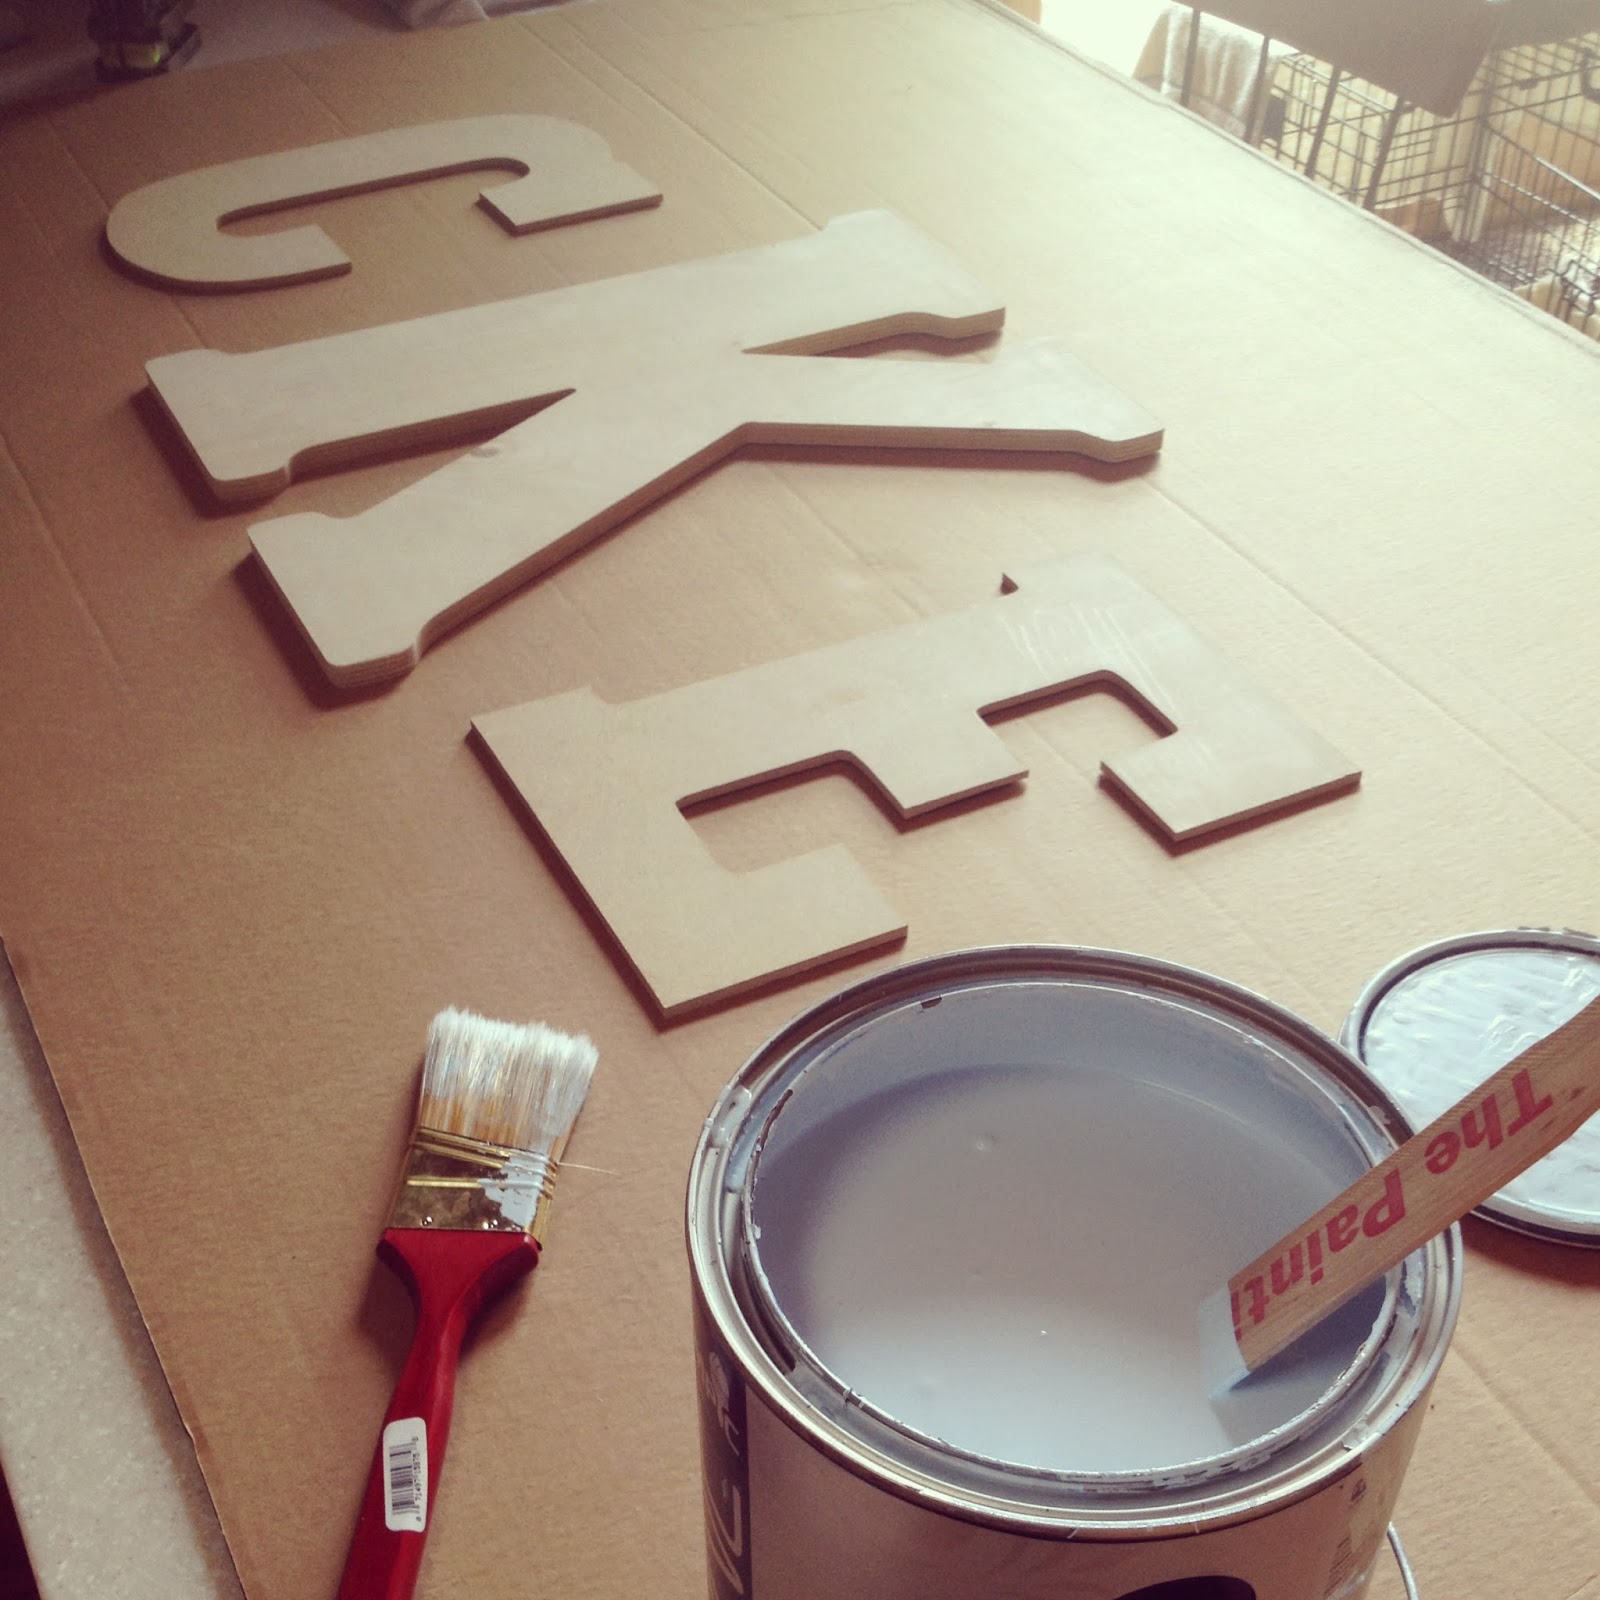
- paint brush (You can use the cheap sponge brushes for this project. You can get those for less than $0.50 at HL)
- hot glue gun
When I went to Hobby Lobby to get all of my materials, the "natural burlap roll" was on sale for 50% off, so I was able to save a few dollars there. Also, don't forget your 40% off coupon that Hobby Lobby offers to all its customers online. You don't even have to print it off, you can pull it up on your phone and show the cashier the coupon code. I used my 40% off coupon on my 18" Wooden Unpainted Letter and ended up only paying $7.79 for it!
Making my grand total for all of the materials around $19 including tax!!
Now moving on to the fun stuff - how to make them!
Step 1) Make sure the letters are clean. You can wipe them down with a damp paper towel if necessary, but normally a dry towel will work.

Step 2) Paint all three of the letters with your choice of color. Make sure that you have a good surface to paint on. I used a large piece of cardboard that I found at my parents' house. There is no need to paint the entire letter. The front and sides are the only surfaces that will be seen, so don't worry about the back. If you are using a light color (like I did), I recommend doing a few layers of paint on each of the letters. Let the letters dry.

Step 3) Time to attach the burlap bows. This part might stress some people out, but I promise, it's not that hard. Depending on the size of your letters, cut the burlap to wear it looks proportional to the width of the letter. For the 18" letter I cut the roll in half. For the 9 1/2" letters I cut the roll into three strips. This is the size that I found to be most proportional for the letters that I bought. Once you decide on the width and length that you would like the burlap to be on your letters, simply hot glue two strips to the back (one on the right and one on the left side) of the letter. Then tie them together in a knot at the height that you would like your letters to hang.


Step 4) To add a little more girly-ness to mine, I added a little extra burlap ribbon in my bow. Do this as you would when wrapping a present, making a figure 8 (I did two) and then tying a knot around the center at the point where your two sides of ribbon meet.

ENJOY!!
-ck.
No comments:
Post a Comment